


Generally, good results are obtained when the surface is in a welded, rolled, casted or forged condition. However, surface preparation by grinding, machining or an alternative process may be necessary in some cases where irregularities on the surface could hide imperfections. Heavy grinding should be avoided to prevent the obscuring of fine defects. After any mechanical processing, it is recommended to perform a suitable chemical etching.
The surface to be tested and all surrounding areas should be dry and free of dirt, fuzz, grease, weld flux, weld splatter, oil or other foreign material that could cover surface openings, generate pseudo indicators or otherwise affect the inspection. The cleaning method depends on the condition of the workpiece and the impurities. Typical cleaning systems use cleaning agents, organic solvents, alkaline solvents, paint removers, vapor degreasing, ultrasonic cleaning, or abrasive blasting, etc. However, shot blasting or blunt sand blasting is only acceptable if it does not over-blast or fill the cavities, as this drastically reduces the precision of the test.
It is important that the parts are properly dried after cleaning so that no water or solvent remains in or over the openings, as this will prevent penetration of the penetrant. Drying can be achieved by heating the parts with infrared lamps, drying ovens, forced air circulation, etc.

After the part has been thoroughly cleaned, the penetrant is applied to the surface to be tested. Small components can be dipped into a container of penetrant. If only a local area of a component needs to be tested, the penetrant can be applied with a brush or a spray.
Regardless of how it is applied, it is important that all surfaces are moistened by the penetrant.
The duration of the time of penetration is critical and depends on the type of material being tested, the type of penetrant, the type and size of the expected defect, and the temperature of the penetrant. If a high viscosity fluorescent penetrant is used, the penetration time may be longer than the normal penetration time. A long penetration time does not affect the results, except that it slightly increases the intensity of the indications and makes it more difficult to remove the residual penetrant.
Usual penetration times are 20-30 minutes.
After the required penetration time, the surface layer of the penetrant on the part is removed by rinsing. The rinsing must be continuous and complete so that the penetrant remains only in the damaged areas of the part. Special attention should be given to holes and threads that are particularly vulnerable to the penetrant. When using water rinsable penetrant, rinsing should be done with a water spray nozzle. The temperature and pressure of the rinsing water is adjusted to the penetrant for optimal removal. The spray angle should be 45° to the surface for ideal results. The water drop from the nozzle should be spraying rather than pointing.
When using solvent-based penetrants, it is important to be careful not to use too much solvent to avoid removing the penetrant from the defect areas. On smooth surfaces, it may sometimes be advisable to remove residual penetrant by simply wiping the surface with clean, dry, lint-free rags. For fluorescent penetrants, it is helpful to use a portable black light source during rinsing to ensure that the rinsing process is complete.

After rinsing the penetrant off, the developer is applied to the part to be tested. This brings any penetrant that may have penetrated into flaws back to the surface. For this purpose, either dry or wet developer can be used.
The developer, whether dry or wet, should be applied as soon as possible after the removal of the penetrant. The time of developer exposure can vary greatly, as larger damage is usually visible sooner and smaller cracks become visible much later.
The processing time usually takes between 20 and 45 minutes

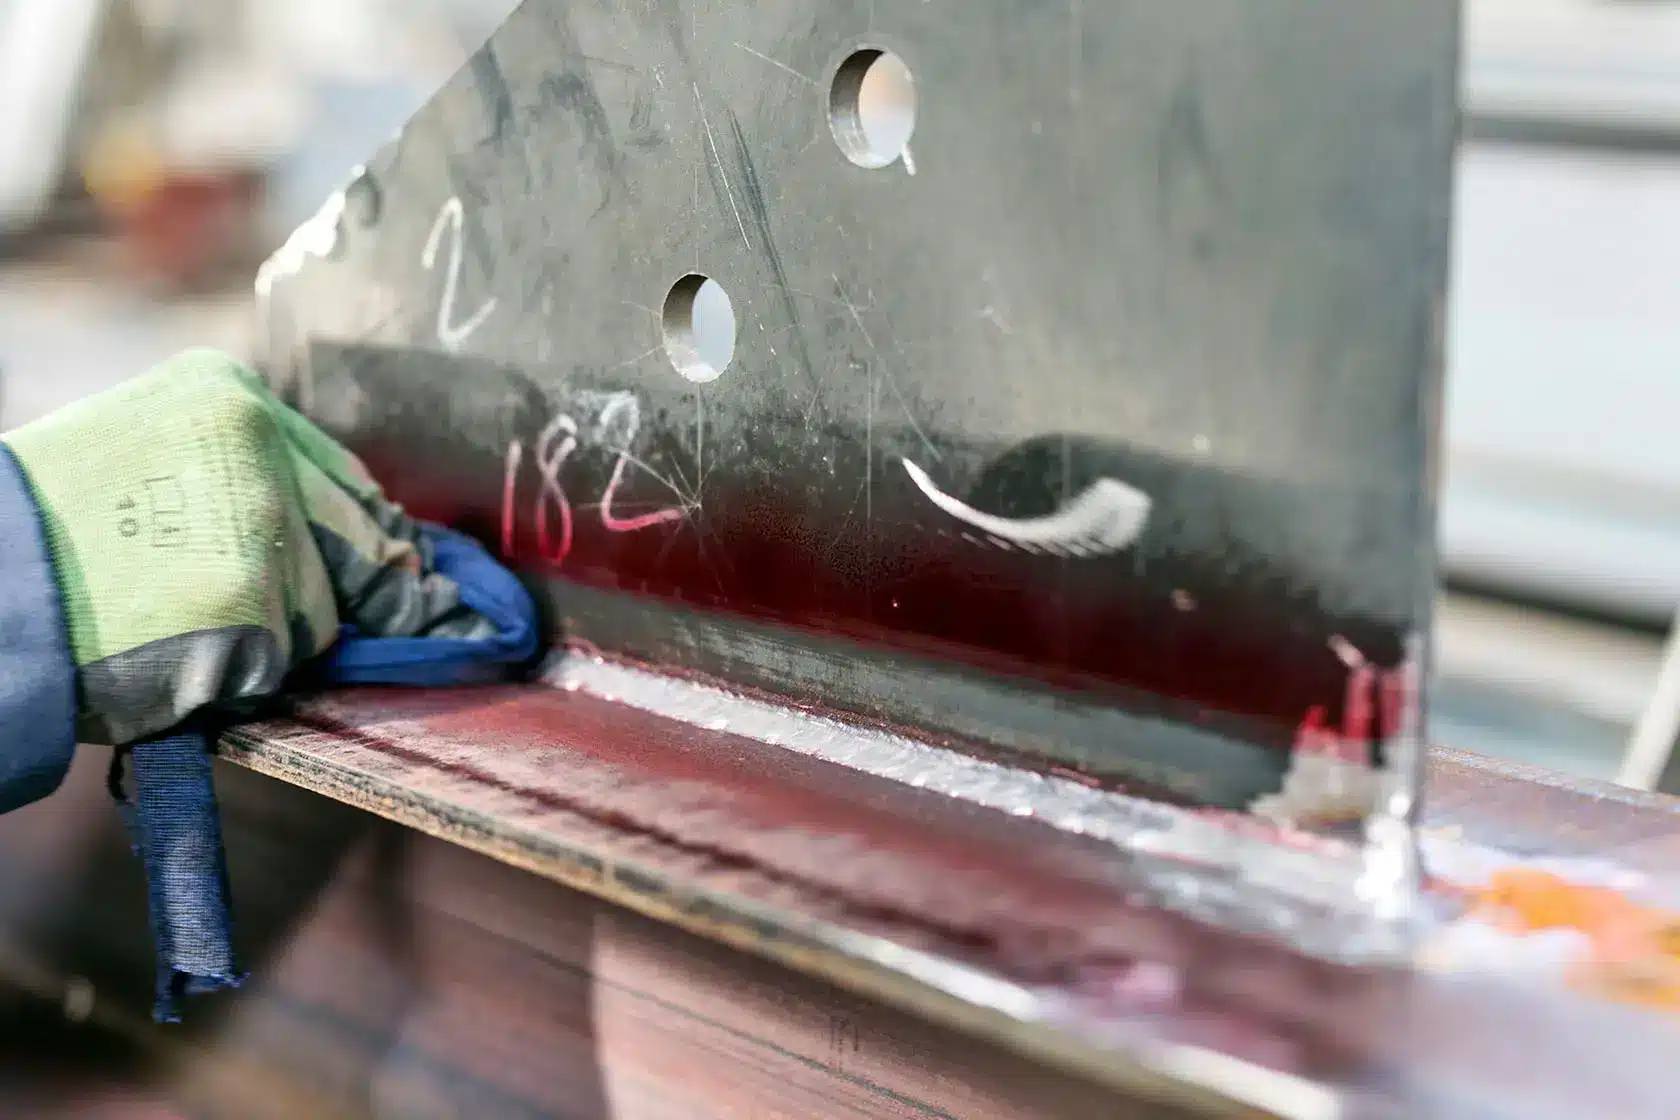
With visible dye penetrants, surface defects are indicated by the bleeding of the penetrant, which is normally a deep red color on a white background. Using fluorescent penetrants, the inspection is performed in a darkened area with high-intensity black light, which displays the fluorescence brilliantly. A portable lamp should be held over the surface of large parts. Small parts are best inspected under a permanently installed light.
A crack or similar opening will usually show a line, while a small crack or partially welded overlap will show a broken line. Coarse porosity can result in large indications covering an entire area. Very fine porosity is indicated by random dots.
If an indicated pattern has occurred, it is necessary to determine whether the pattern is due to the actual defect or an illusory defect. The depth of the defect can be correlated with the fullness of the paint and the rate of bleed. To make a statement about the depth of a surface defect, it is advisable to wipe off the existing layer of developer and apply a new one. The speed and intensity of the bleeding can be used to evaluate the surface irregularity more precisely. However, this cannot be repeated as often as required.